How to Set Up Your Trezor Wallet Using Trezor io/start – 2025 Updated Guide
Understanding Trezor and Its Importance
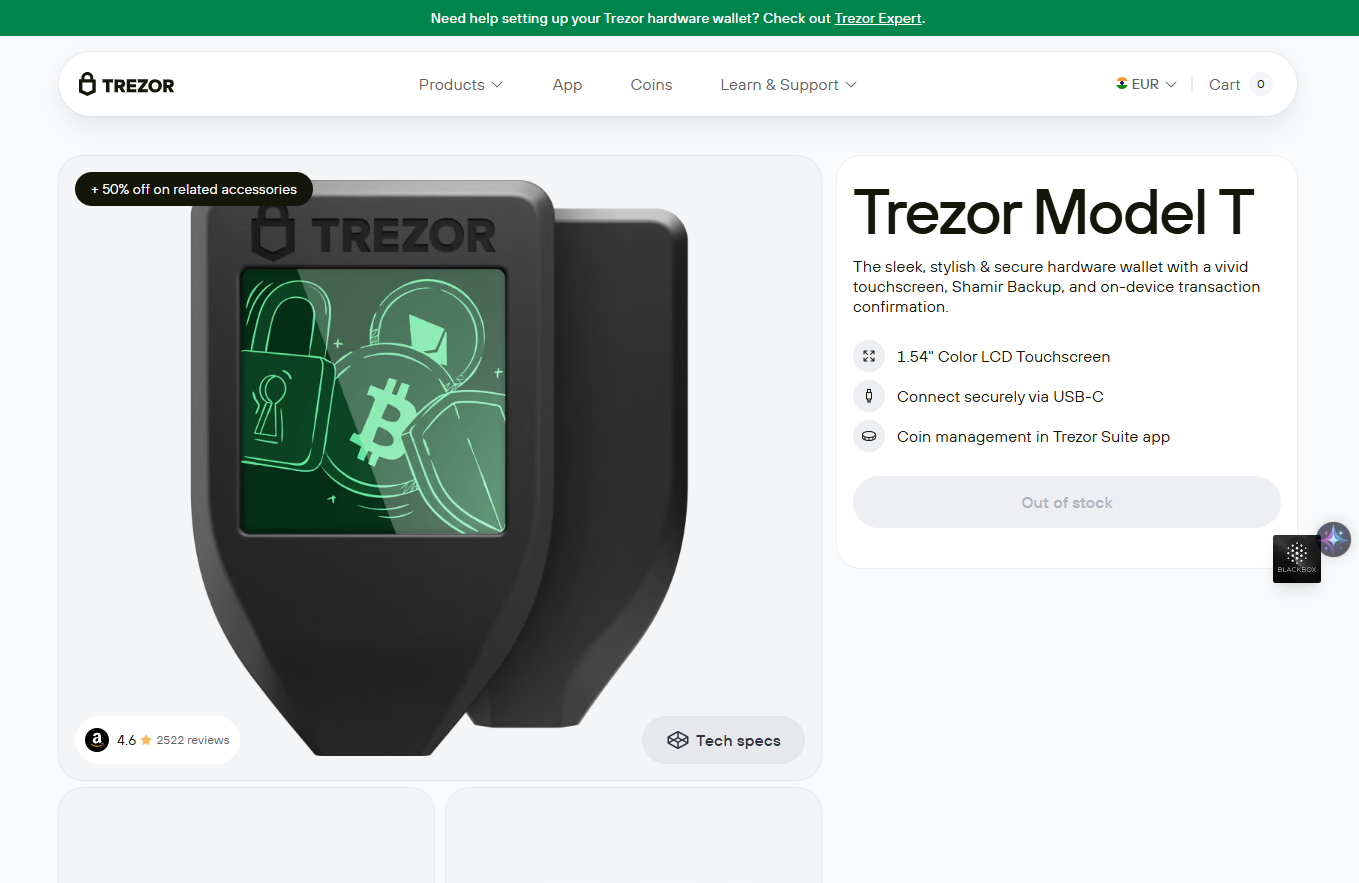
Trezor is a highly secure hardware wallet developed by SatoshiLabs to store and manage cryptocurrency assets offline. It provides an extra layer of protection by keeping your private keys away from internet-connected devices. For both beginners and advanced users, the setup process starts at trezor io/start, where you will find step-by-step instructions for initializing your wallet securely. Whether you have the Trezor Model One or the Trezor Model T, the onboarding experience is straightforward and user-centric.
Starting the Setup Process the Right Way
Step One: Connect Your Device
Once you unbox your Trezor device, plug it into your computer using the included USB cable. Make sure you are using a secure and trusted computer to reduce the risk of malicious software or tracking tools. After connecting, open a browser and type in the setup address manually—never rely on third-party links.
Step Two: Download and Launch Trezor Suite
You will be prompted to download Trezor Suite, the official desktop interface used to operate your Trezor device. It is available for Windows, macOS, and Linux systems. After downloading, install and open the software. Trezor Suite will automatically detect your device and begin the onboarding flow. It ensures secure management of your cryptocurrencies, portfolio tracking, and transaction history—all from one interface.
Step Three: Install Firmware
If your device is new, you may need to install the latest firmware. Trezor Suite will prompt you if the device has no firmware or requires an update. Confirm the installation only if the software is downloaded directly from the official site. This step ensures your device operates with the latest security patches and features.
Step Four: Create a New Wallet
Once your firmware is installed, you will be given the option to create a new wallet. During this process, your device will generate a recovery seed phrase, typically made up of 12, 18, or 24 words. These words are the only backup of your wallet. Write them down on the provided recovery card and store them in a safe, offline location. Do not save it on your phone, computer, or cloud storage, as doing so can expose you to hacking or malware.
Step Five: Set a Strong PIN and Additional Protection
After storing your seed phrase, you’ll be asked to create a personal identification number (PIN). Choose a unique and strong PIN that you can remember. If someone steals your Trezor device, the PIN will prevent unauthorized access. Optionally, you can enable passphrase protection, which adds a custom word or sentence to your seed, increasing security.
Using Trezor for Managing Crypto Assets
Once your wallet is set up, Trezor Suite will allow you to add and manage various cryptocurrencies. You can send and receive Bitcoin, Ethereum, and hundreds of other supported tokens. Each transaction must be confirmed on your Trezor device, preventing remote attacks. Always verify receiving addresses on the device screen before confirming any transactions. This small habit can prevent costly phishing scams.
Maintaining Security and Best Practices
Your Trezor hardware wallet is only as secure as the precautions you take. Always ensure the device firmware and Trezor Suite software are up to date. Never share your seed phrase or enter it into a computer or smartphone. Only connect your Trezor device to trusted devices, and keep it in a secure physical location when not in use. Avoid clicking links in emails claiming to be from Trezor, as phishing attempts are common in the crypto world.
Frequently Asked Questions (FAQ)
Q1: What happens if I lose my Trezor device?
A1: If your Trezor wallet is lost, you can recover your funds using the 12, 18, or 24-word recovery phrase that you wrote down during setup. Simply purchase a new Trezor device, select the restore wallet option, and enter the seed phrase. Without the recovery phrase, your assets cannot be recovered.
Q2: Can I reuse my Trezor device with a different wallet?
A2: Yes, you can reset the Trezor device and use it with a different wallet by wiping its memory. However, doing this will delete all current wallet data on the device. Always make sure you have your recovery phrase saved before resetting the device.
Q3: Is it safe to use Trezor Suite on public Wi-Fi?
A3: While the Trezor hardware ensures that your private keys never leave the device, it's still safer to avoid public Wi-Fi when handling crypto transactions. Network-level attacks can target data traffic or spoof pages, potentially tricking you into installing malware or connecting to fake services.
Q4: How do I know if my Trezor device is genuine?
A4: Genuine Trezor devices come with security seals and tamper-proof packaging. During the initial setup, Trezor Suite checks if the firmware is authentic. Always buy from trusted or official sources to avoid counterfeit products that may be compromised.
Q5: Can I use Trezor with third-party wallets or DeFi platforms?
A5: Yes, Trezor is compatible with several third-party wallets and interfaces such as MetaMask, Electrum, and MyEtherWallet. However, be sure the third-party application supports Trezor integration and always verify your actions on the hardware screen before confirming any operations.
Closing Thoughts on Trezor io/start Setup
The process of setting up your Trezor wallet through trezor io/start is designed to be simple, secure, and intuitive. By following the instructions and maintaining control over your recovery seed and device access, you gain powerful security against hacks, theft, and loss. Trezor gives you full sovereignty over your crypto holdings, which is essential in today’s digital world. With the support of Trezor Suite, managing your assets becomes both secure and convenient. Remember that a hardware wallet is a long-term security investment—take the time to do it right.
Disclaimer
This content is intended for educational purposes only. It does not constitute financial or investment advice. Trezor is a product of SatoshiLabs, and this guide is not officially affiliated with or endorsed by the company. Users are solely responsible for securing their recovery seed and hardware wallet. Always verify software sources and URLs independently before proceeding.
Made in Typedream